| Guide | Treat severe Bumblefoot (Pododermatitis) |
| Target group | Corvids |
| Author | info@corvidlove.com |
| Version | 20220511 |
| NOTE: In all my guides, I start from a situation where a rehabilitator takes his responsibility to take care of the animals in an ethically correct way. You should always try to minimize stress for the bird and since the birds, just like humans, are not the same, it can mean that you handle a problem in different ways by being creative! If I see different ways of doing the same thing, I try to write it down in my guides, but it is always up to the rehabilitator to take their own responsibility. I do not have to write “I recommend putting the bird down” or “contact a veterinarian” or “according to law, you should …” because I start from the situation where you do the best for the bird and that you as a rehabilitator have learned to draw the line so that you do not end up in an unwanted or illegal situation. There may be an eternal battle between what you want and what is best for the bird. There are also many factors where a similar situation can give different results. For example: access to a veterinarian, lack of time, lack of knowledge and previous experience can include cause large differences in the treatment and decision-making process and indirectly also the end result. Knowledge of basic things can make a huge difference in the stress level of the crow. For example. avoid anything that is black or checkered. They do not like it instinctively and it creates stress when they see that you are dealing with something that is black. I put energy into my guides to make it easier for a rehabilitator to find information and to spread knowledge. Do you see a way to improve my guides or do you see a mistake or do you want to add something, feel free to inform me! If you are worried about doing something because it is new, ask other rehabilitators or a veterinarian for help. The guides are continuously updated, so make sure to always download the latest version from www.corvidlove.com |
This guide describes what you can do with birds that have received Bumblefoot
NOTE: In addition to what is written in this guide, the bird needs to be treated with antibiotics (which you can only get through the vet). I recommend Enrofloxacin (Baytril). The usual dose should be doubled in 12 days . After that, you should continue for another 10 days (regular dose).
The reason is that antibiotics do not always reach all staphylococci in the tissue and more inaccessible parts of the foot (staphylococci can also spread to the legs if you are unlucky.
What is Bumblefoot?
Bumblefoot is a bird disease caused by staphylococci.
Staphylococcus is a common bacterium that has had a chance to enter the body there.
Cause and spread
The cause of the problem is usually that a little pressure soar has formed on the foot. Just like in humans, the skin does not tolerate being exposed in the same place for a long period of time. So if a bird has been sitting on an inappropriate branch or received a wound on the foot, staphylococci can find a way to get into the body and then the suffering for the bird begins.
Birds that are in captivity should always have a good perch (no broom stick) that does not have sharp edges.
Symptoms:
Visible sores that are almost always present under the foot. When it is a difficult fall, the toe is thick (usually 2 to 4 times thicker than a normal toe)
See the first picture a little further down.
NOTE:
– Severe cases of bumblefoot are present when a “plug” has developed. The plug is usually round and feels hard.
– Severe cases can possibly cause one or more toes to stop working (the nerve in the body has been destroyed by the infection)
– Severe cases can cause the claws to stand in different directions. This usually indicates that the toes are permanently damaged.
Other symptoms:
– The claws are too long (they have not been used for a while.)
– ‘Scutes’ on the foot (those scales that are on the toes “) are coming loose or missing
Treatment, medicine and dosage:
Without treatment, a crow can die from the infection. It spreads throughout the body.
There are various products you need to get hold of to treat Bumblefoot.
A veterinarian needs to prescribe Baytril (broad spectrum antibiotics) to kill the bacteria.
People who get a wound, get a crust and it falls off after a while. The body takes care of it itself.
In birds, it works differently because the crust remains and it must be removed in some way. It is called “plug”.
It is called a plug because it sits deep in the foot. It is not only on the surface that it looks like a crust.

What needs to be done is probably best done together with, or by a veterinarian. They have the best materials and painkillers.
If you are lucky, it is not needed. If you pull out a stick yourself like you pull off a crust, it does not have to hurt. Usually the bird has almost no feeling left in the part of the foot where the plug is located, but for safety’s it is best to have the procedure done by a veterinarian because they have anesthetic skin spray if needed. Do not forget that some animals do not clearly show that they are in pain.
This treatment is not an invasive procedure (no “surgery”). An invasive procedure is possible though (where the plug is removed with the help of a scalpel).
Since you then need to cut in the healthy part of the foot as well, I think it should be avoided if possible.
The treatment described below is a more advanced variant of removing the plug by making the surrounding skin soft so that the plug comes loose.
You need the following things:
* An ointment to fill the hole after the treatment. It must be bactericidal and virus-killing. It must never contain any alcohol.
Eg. F10 Ointment: You can find this on Amazon.co.uk. This product is the BEST! You should have this at home!
or
Duoderm Hydrogel (Viata.nl, Holland)
* Epsom salt (NOTE: It must be PURE epsom salt) , also called “magnesium sulfate”
Just google for it. You can buy it in so many stores.
If you cannot find it, bicarbonate powder (Sodium bicarbonate) will also work.
* A good tweezers of high quality made to pick with, not to stick with, without grooves and a pointed top Eg.
https://www.amazon.co.uk/s?k=Tweezerman+Stainless+Steel+Mini+Slant+Tweezer
* Sterile Wound Swaps (if the package says it is low absorbent, take that one!)
* Vet-wrap / Vet-Flex tape
* Leukoplast tape
* disposable gloves, a towel to wrap the bird in, a table, enough candles, kitchen paper. Read the ENTIRE guide before you start so that you have everything ready before you start ..
Step 1)
Make sure that nothing can interfere while you are doing the treatment. Mute the phone. Make sure that no children or animals can visit while performing the rest of the guide. It is necessary that two people do the following steps.
Step 2)
Wrap the bird in a thin towel so that it cannot come loose and escape. Make sure it can breathe and it is probably good to keep something thin over her/his head so that the bird stays calme.
Step 3)
Wash your hands thoroughly or put on disposable gloves. Make sure no alcohol is left on your hands.
Take a plastic jar, large mug or similar and fill it with warm water (around the same temperature as when you shower) and mix in a large amount of Epsom salt. Stir until everything is dissolved.
Put the bumblefoot foot in the solution. Make sure that the feathers / bird itself do not end up in the water.
Now wait 20 minutes. This is boring, but do not turn on the radio or tv to pass time, because this will stress the bird.
Step 4)
now place the bird on its back (with its foot up) and press a little into the skin exactly where the plug ends. Just behind the edges. Do you see a small gap? or nothing happens?
If you see a small gap, then continue to push down around the entire plug and make sure that the gap “appears” while you press.
Then go back to step 3 again.
If you do not get a miss somewhere or only in a part, you probably need to do step 3 twice more.
You may also be able to do this before going to the vet, as a veterinarian may be short on time.
The skin that has become soft stays soft for a while.
Step 5)
If you are at the vet, it is good to use local anesthetic (spray) in the area around the plug.
Now choose a place where the gap is like largest and grasp this part of the plug with the tweezers. So you have to take the “edge” with the tweezers.
If you pinch too hard, you can accidentally pinch off a piece and that makes the whole thing more difficult. But try to get a good grip with the tweezers and push up the plug. Do it slowly, so it does not hurt. Do not try to pull out the whole crust (plug) on the first try.
If it is a crust that is fairly freshly formed, there may be some blood, just like when you remove a “fresh stick” from the skin. If the plug is a little older (a few weeks), you can “pull it out” without it bleeding. it comes off completely.
(This makes me also wonder if some bird succeed in taking it out themselves! I have not found any proof of this and since it is a rare phenomenon in wild birds, I will probably not see any proof soon)
Step 6)
When the plug is removed, set it aside. Make sure you’ve got it all out. Do not forget that if you have a hole to not just move around there. You might damage something. If you are not a vet, you probably do not know what you are doing in there 😉
(Taking out a splinter from your body is one thing, but to go in there with a tool is not a good idea!)
Now fill the hole with F10 ointment or a duoderm gel or another ointment that you can use in an open wound.
Step 7)
Cut a square piece (slightly larger than the hole) of sterile surgical wound swap and place it over the hole. The advantage of it is that it does not “grow stuck” in the wound. Pga. the ointment that is in place, so it should not move.
Now wrap Micropore tape around the toes and foot. We have noticed that some packages have glue that is difficult to remove and therefore some space should be left between the compress and the tape so that you can put in scissors if the tape would be difficult to remove. Since the tape is usually too wide, you need to cut it so that it becomes narrower.
NOTE: Important. Make sure that the beak cannot reach the swaps else the bird will pull it out for sure.
The tape must not be too tight (so as not to impede blood flow).
This part is tricky. Don´t feel ashamed when it did not go well. Just take it off and start over with a fresh piece.
Step 8)
Attach the tape with leukoplast so that the bird cannot pull off the whole the bandage. If you have a bird that does not try to pull on the bandage, you are ready. If you have a bird that pulls the whole time or you do not know, then you need to put some Vetwrap around the area so that the bird can not pull off the bandage.
Make sure that the bird can not put the foot in any water
Step 9)
Day 2 and 3: (the day after steps 1-8): Repeat steps 7 and 8.
The skin around the wound is probably black and lasts on healing.

Step 10)
Continue to keep track of the wound. Should it start to smell, the vet needs to check the wound.
Be careful when holding your nose near your foot. Birds are not happy when you get too close. They might peck your eyes.
Day 4 you can skip
Day 5 you should change bandages again
Day 6 you can skip
Day 7 Should the wound look good, massage in F10 in the whole foot. If you do not have it, you can take diluted hibiscrub to clean the skin.
NOTE: Never use undiluted hibiscrub (4 parts water – 1 part hibiscrub is a good mix).
NOTE: Never use anything that contains alcohol.
If the wound is completely closed after a week, you can stop with a new bandage. Make sure the cage is clean so that the bird does not move around in its own feces.

Continue the treatment for at least 7-12 days (this is usually as long as the antibiotic treatment lasts, and take the opportunity to take care of the foot when you have caught the bird anyway). If the foot looks good after 7 days, you can stop. Keep track for a longer period.
Important addition!
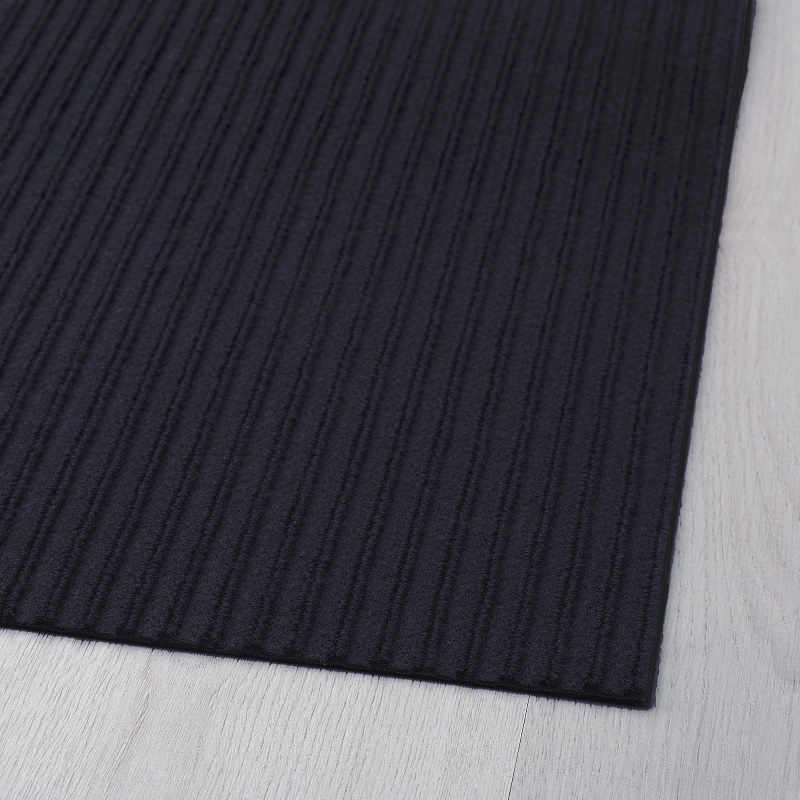
A crow bird that has / has had Bumblefoot should preferably have a soft surface to sit on. Since a branch, on which they usually sit, is not soft, you need to make it softer with the help of a soft doormat or diapers or puppy pads. The easiest way is to cut a strip and fasten it around the branch using cable ties.
A toe that does not work any more before or after the treatment will never work again. The cause is the injury from the Staphylococci that destroyed the nerves inside the foot.
You can buy a doormat cheapest at Ikea , only 1,5 GBP 🙂 https://www.ikea.com/gb/en/search/products/?q=kristrup
You can buy something else but it has to feel a bit like padded fabric.
Whatever you buy, make sure that it is not plastic that they can tear off pieces from and eat.